

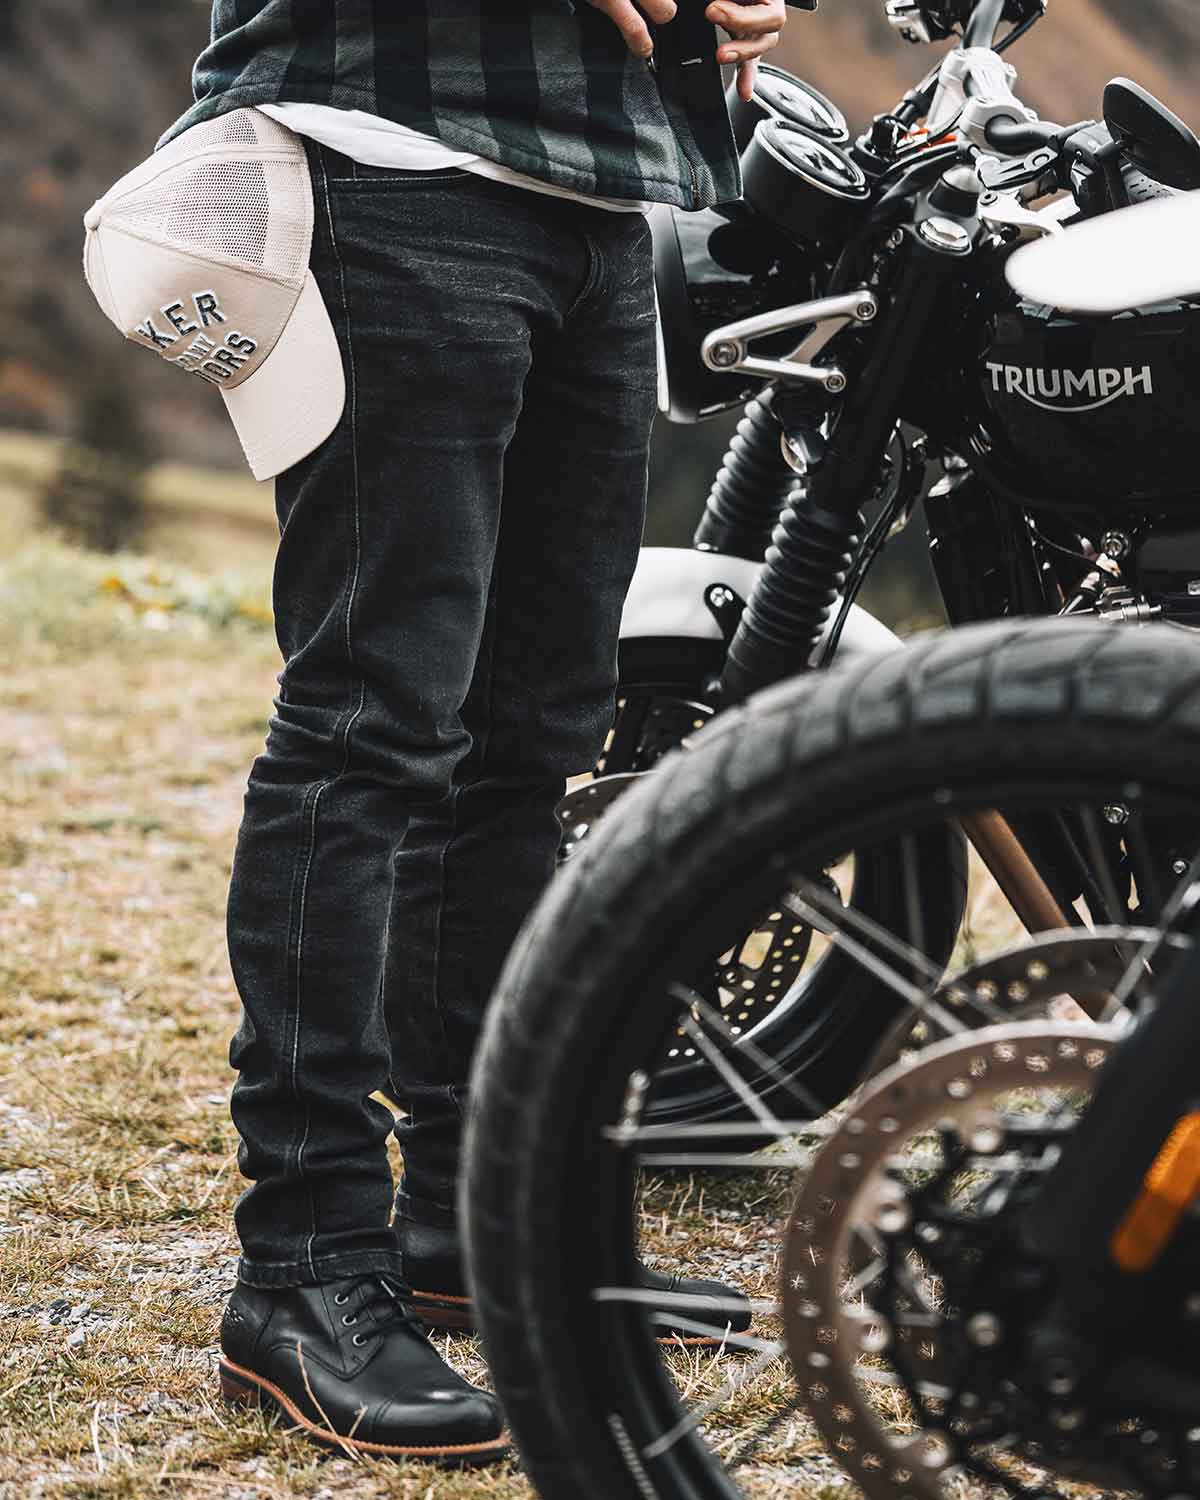
Every motorcycle adventure, from winding mountain passages in the Alps to extended coastal rides, not only leaves behind unforgettable moments, but also a lot of dust and dirt that settles on your bike's paintwork. But how do you wash a motorcycle properly without damaging the paintwork or putting sensitive parts at risk?
In our blog article on "Washing your motorcycle like the pros", we provide you with valuable tips and tricks to give your beloved steel steed the care it deserves so that you can set off on your next adventure in tip-top condition.
Cleaning your motorcycle: Preparation is everything
The right preparation is the be-all and end-all when you want to clean your motorcycle. But before you pull out the hose and get started, there are two crucial steps to consider: choosing the ideal cleaning location and selecting the right care products to give your bike the best care without risking damage.
Choose a suitable cleaning area before washing
Before you start cleaning, first of all choose a suitable place to clean your bike.
-
Observe legal conditions:
Before you start washing your motorcycle, it is advisable to check the local laws. It is not permitted to clean your bike in the open air everywhere, as protecting groundwater from oil and chemicals is a top priority. Find out in advance about the applicable regulations in your region or locality.
-
Wash your bike in the shade:
Park your bike in a well-covered area and let it cool down first. To ensure that you can clean your bike unhindered, the parking space should offer sufficient shade and enough space so that you can easily reach all the sides, cracks and gaps of your bike. The shaded area also helps to ensure that all parts of the motorcycle remain cool and that the sun does not dry it out and leave streaks.
-
Find a stable surface:
Make sure that the motorcycle is standing on a stable surface to ensure stability for you and your vehicle during the cleaning process.
Only use suitable motorcycle cleaning products
There are right and wrong ways to clean your motorcycle. An unsuitable cleaning agent can damage the paintwork and components, leaving your bike looking worse than before.
As every material on the motorcycle may require a different type of cleaner, a thorough look at the wide range of motorcycle cleaners and careful reading of the application instructions will save you from unpleasant surprises.
Professional cleaning: step by step to a clean bike
Now that you have prepared the appropriate work area, you should prepare all the cleaning materials and tools in advance so that you always have them to hand during the cleaning process.
Selection of tools that are useful for cleaning the bike:
- Garden hose
- Alternatively, a high-pressure cleaner if used carefully
- Hose line
- Motorcycle-specific soap cleaner
- sponges
- Chain cleaner / degreaser
- Brake cleaner
- Motorcycle polish for the frame
- Metal polish for chrome & alloys
- Motorcycle protection sprays (ideally silicone-based)
- Material-suitable care products/cream for the motorcycle seat
- Chain lubricant
Professional tips:
-
Use the two-bucket method:
The so-called two-bucket method is one of the most tried-and-tested methods for cleaning the motorcycle. It prevents dirt that has just been removed from getting back on the bike. - A bucket of clean, cold water
- A bucket of foamy cleaning solution
-
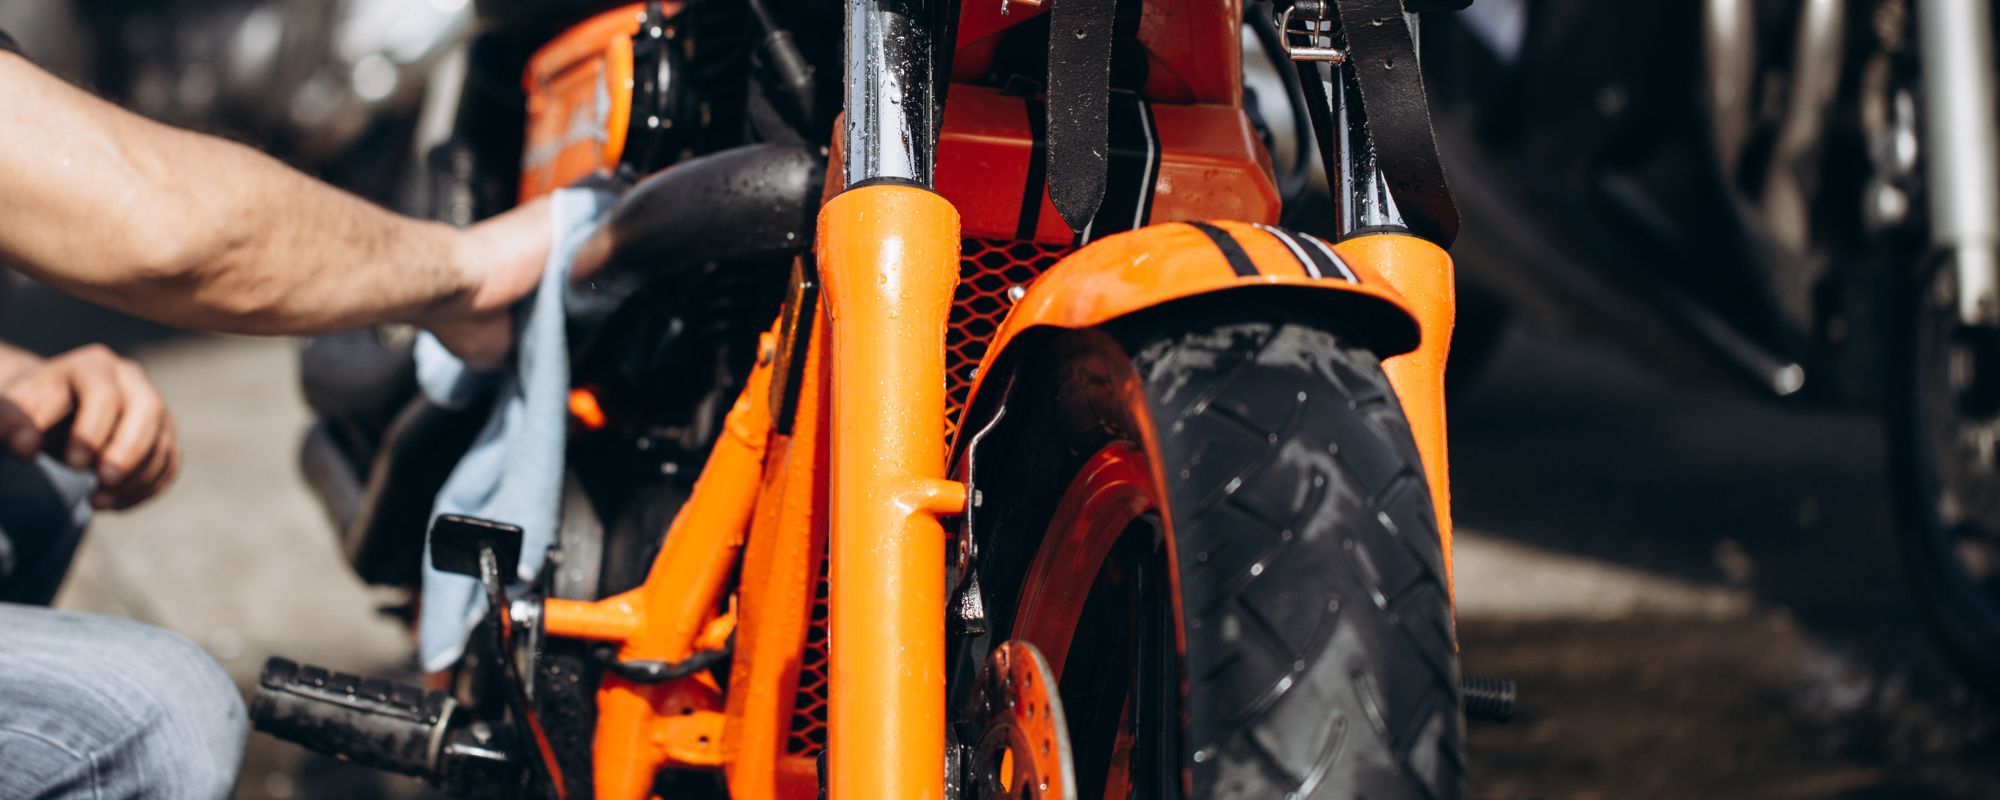
Use microfiber cloths:
Microfiber cloths are a more effective and gentler alternative to sponges. They are considered the best tool you can use to clean your motorcycle. Their soft material reduces the risk of leaving scratches on the paintwork. Microfiber cloths also absorb water extremely well, which means your motorcycle dries faster.
-
Special cleaning brushes:
Use suitable brushes in different sizes for hard-to-reach areas or special materials. These are ideal for cleaning the wheels and underbody of the motorcycle so that the highly abrasive brake dust is not transferred to the paintwork and, of course, to avoid unnecessary damage during cleaning. Examples of this would be - Chain brushes
- Detail brushes for areas that are difficult to access, e.g. forked double brushes for cleaning rims, pipes, etc.
- Soft washing brushes, ideal for matt paintwork
Now that you have everything you need ready, you can finally start sprucing up your bike.
Now it's time to get down to business: washing your bike properly in 5 steps
Just as you give your beloved motorcycle accessories, such as motorcycle gloves or pants, the care they need after dusty rides, your motorcycle also deserves care that goes beyond the superficial.
And with the right techniques and products, this is easier than you might think. Simply follow our step-by-step guide below and your bike will shine like new.
1) Degrease the motorcycle chain
When you wash your bike, you naturally want to get rid of grease and dirt. However, there is one area of your motorcycle that is a real dirt trap, but where the grease should definitely stay: the motorcycle chain.
The chain is the quickest to accumulate dirt and grime due to the adhering grease, which is why you should remove it first. We recommend using a good motorcycle-specific chain cleaner that is suitable for all chain types and also prevents flash rust. Incidentally, flash rust always occurs when metals are exposed to corrosive environments and often occurs when wet surfaces are allowed to dry naturally.
This is where the chain brush comes into play. Thanks to its shape, it reaches every chain link and effectively removes dirt. Scrub thoroughly, but with feeling - you want to clean the chain, not wear it out.
Of course, after washing and drying, we need to lubricate the motorcycle chain again to keep it running smoothly! However, we will cover this process in more detail later in step 5.
2) Pre-rinsing the bike
Pre-rinsing the bike is not only crucial to prepare it for deep cleaning, but also to protect its surface. To do this, remove all loose items such as cases or bags in advance and cover sensitive parts such as the exhaust or tank to protect them from water and cleaning agents.
Then start by gently rinsing the bike with cold water to remove coarse dirt and apply a high-quality motorcycle cleaner to remove stubborn dirt, which you leave to work for a few minutes.
Be carefulwith matt paintwork:
Choose a special cleaner for this and apply it with a microfiber cloth.
Be careful when using high-pressure cleaners:
Motorcycles can withstand rain, but they are not made for underwater expeditions. We therefore advise against using high-pressure cleaners. If you do decide to use it, use it with great care to protect sensitive parts from water damage.
3) Motorcycle - main wash
After your motorcycle has been soaked in the soapy water, the actual act of cleaning your motorcycle begins: scrubbing.
Therefore, in this third step, use our professional tip mentioned at the beginning regarding the two-bucket method. This method is not only effective, but also protects your bike from the dreaded scratches that can occur during cleaning.
Also use special brushes to reach the hard-to-reach areas of your bike. Surface dirt and rust all too often tend to get stuck in the hidden corners of the machine, such as the brake discs and pads. However, make sure that the brushes are soft enough not to damage the surface of your bike.
Don't forget the metal parts of your bike either. To avoid scratches or other damage to the finish or paintwork, you should avoid using abrasive cleaners and hard tools.
Once you have removed the dirt from your bike, rinse it thoroughly with clean water to remove soap residue and prevent stains.
Pro tip: Take your time
Some of us like washing motorcycles, others not so much. If you're one of the latter, it may be tempting to get the cleaning done as quickly as possible.
Even though speed is in the nature of a motorcyclist, it's better to take your time.
Rushing can lead to several things:
- Damage to the paintwork
- A messy job means wasted time if you don't remove harmful road debris such as salt and road salt
- Damage to motorcycle components and equipment
Cleaning a motorcycle is not just superficial, but an essential part of motorcycle maintenance. We therefore advise you to take sufficient time for this.
4) Drying and detail finish
An important step that is often overlooked is drying. Especially after a thorough wash, it is crucial not only to ensure a sparkling clean finish, but also to guarantee the longevity of the motorcycle.
Thefollowing principle applies here:
Do not leave your bike to air dry - wipe it down to avoid water stains.
Instead, use a soft microfiber cloth to gently dry your bike to make it shine thanks to the residue in your cleaning formula.
Water residue can collect in the hidden corners and crevices, such as the gearshift system, which can promote corrosion. To prevent this, we also recommend using a motorcycle dryer or compressed air tank to remove even the last traces of water.
5) Protection and aftercare of the bike
Once your bike has been thoroughly washed and dried, the next important step is polishing and protection.
This step is not only suitable if you want to make your bike winter-proof, but also helps to protect the paintwork from corrosion caused by environmental influences all year round. A good wax or protective coating also maintains the longevity and resale value of your bike and conveniently minimizes the effort required for future cleaning.
Therefore, apply a thin film of wax to your bike if possible, allow it to dry briefly and then polish your bike to a high gloss as usual.
Also make sure that you use a motorcycle-specific protective agent that is suitable for all motorcycle areas. Always use special motorcycle protection sprays for frames and metal parts, which form a protective film on them that prevents corrosion and dirt adhesion. Silicone-based products are recommended for bodywork and plastic parts in particular, as they make them water-repellent and give them a deep black appearance.
Depending on the type of seat you make yourself comfortable on your motorcycle, you should apply a recognized vinyl protector or a leather care cream. These will keep the motorcycle seat supple and prevent fading at the same time.
6) Relubricate the motorcycle chain
Last but not least, you should reapply the lubricant that you removed from your motorcycle chain.
Choose a suitable lubricant, whether for everyday use or the racetrack, that does not stain and penetrates deeply. Apply it evenly to all chain links, turn the rear wheel to distribute it and finally let it work in briefly before you accelerate again.
A well-lubricated chain reduces internal wear and ensures that your motorcycle runs reliably even under extreme conditions.
Motorcycle cleaning tips: Summarized as a practical checklist:
1) Degrease the motorcycle chain:
- Position the motorcycle safely
- Apply chain cleaner
- Scrub with a chain brush
- Remove any remaining dirt and cleaner
- Allow the chain to dry completely
2) Pre-rinse the motorcycle:
- Rinse the motorcycle with cold water to loosen coarse dirt
- Spray on motorcycle cleaner and leave to take effect
- For matt paintwork, apply special cleaner gently with a microfiber cloth
3) Motorcycle - main wash:
- Use the two-bucket method
- Only use high-pressure cleaners with caution
- Use special brushes for hard-to-reach areas
- Treat metal parts with care
- Rinse thoroughly with clean water
4) Dry and detail finish:
- Avoid leaving the motorcycle to air dry
- Use soft microfiber cloths for drying
- Watch out for hidden water residue in corners and crevices, especially in the switchgear
- If necessary, use a motorcycle dryer or a compressed air tank
5) Protecting and refinishing the bike:
- Apply wax or protective coating evenly and polish
- Use protective spray for the frame, metal parts and other vulnerable areas
- Treat the motorcycle seat with a suitable protective agent depending on the material
6) Relubricate the motorcycle chain:
- It is best to choose a lubricant that suits your riding habits
- Apply the lubricant evenly to all chain links
- Turn the rear wheel to distribute the lubricant
- Give the lubricant enough time to soak in before the next ride
CONCLUSION
Whether you prefer a quick bike wash or a thorough hand wash, the most important thing is to give your bike the attention and care it needs from time to time after all your rides.
By following our step-by-step instructions, your bike will not only be sparkling clean, but also optimally prepared for your next ride.
And thanks to suitable tools and the use of proven techniques, you will not only ensure optimum performance and safety for your bike, but also maximize your riding enjoyment. All in all, a relatively small effort that pays off in every respect.
YOU CAN FIND MORE TIPS & TRICKS IN THE ROKKER GUIDE!
Leave a comment
This site is protected by hCaptcha and the hCaptcha Privacy Policy and Terms of Service apply.